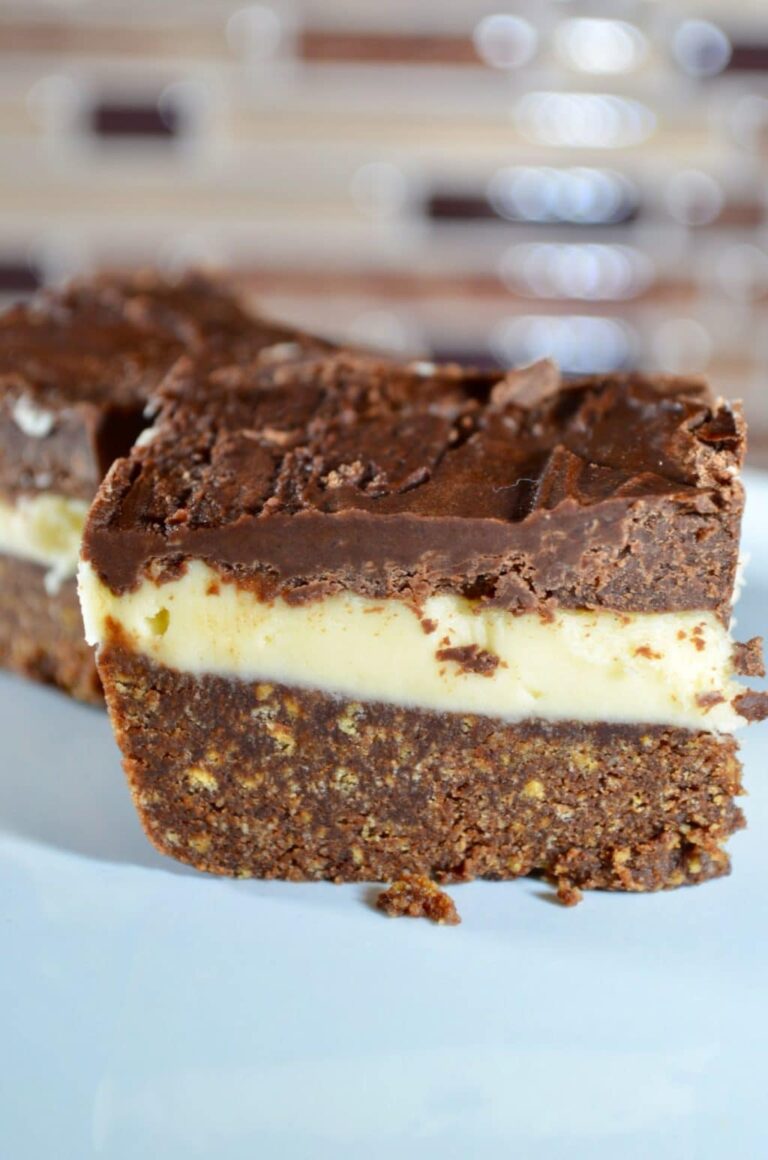
If you’re not from Canada you probably have no idea what a Joe Louis Cake is. If you are, then you know it’s a popular snack/dessert consisting of two chocolate cake rounds with a cream filling within a milk chocolate coating. It resembles a chocolate version of the May West dessert.

Now that you know what a “Joe Louis” is as we commonly referred to it as a kid, you can now make it at home with this super easy-to-make recipe. Which is awesome if you don’t live in Canada and don’t have access to the store-bought variety.
My Latest Videos

Here’s the thing though. Like most Copycat Recipes, it is sometimes pretty difficult to replicate the real thing. Case in point, this recipe uses a red velvet cake mix. The real Joe Louis cakes are a little more chocolatey if memory serves. But it is still awesome!
Who is Joe Louis
Not sure if this dessert is related but Joe Louis was a professional boxer who was the world heavyweight champion from 1937 until 1949. Way before my time but this cake recipe pre-dates me as well.

This cake recipe is actually super easy to make. Which are the types of recipes I like to share with all of you. A box of red velvet cake mix, some whipping cream mixed with some marshmallow cream and some melted chocolate for the coating. That’s it!
Tips
- If you find your cake filling is a little too runny, let it sit in the fridge to stiffen it up. Make sure the cakes are cool before adding the cake filling
- Add a little more whipping cream to the chocolate chips if the consistency is a little too thick

Gather your Ingredients
You will need the following ingredients to make this Joe Louis Cake recipe. For ingredient amounts please refer to the printable recipe card at the bottom of this post.
- Red Velvet Cake Mix – Whatever brand you prefer
- Unsalted Butter – you can use salted butter if you prefer
- Powdered Sugar – For sweetness
- Heavy Whipping Cream – This will help thicken the cake filling
- Marshmallow Cream – A key ingredient for this cake
- Milk Chocolate Chips – For the frosting. I like Nestle but you can use whatever brand you prefer
How to Make Joe Louis Cake
- Make the cake according to the directions on the package in two 9-inch cake pans.

- If needed, use a serrated knife to cut the domed top off one of the cakes. Place the trimmed cake on a platter while leaving the second cake as is.
- In a large bowl, beat the whipping cream with an electric hand mixer until stiff peaks form, about 2 to 3 minutes.
- Beat in the butter and powdered sugar until very stiff peaks form, about 1 to 2 minutes.
- Fold in the marshmallow cream until just combined. It should not be runny.
- Spread the marshmallow icing over the cake layer to the edges. Place the second cake layer over the marshmallow icing.

- Place the cake in the freezer for about 10 minutes.

- While the cake is in the freezer, microwave the chocolate chips and whipping cream for about 30 seconds. Stir until the chocolate is melted. Let the chocolate cool slightly.
- Pour the chocolate glaze over the top of the cake. Use a spatula to spread the glaze over the top and sides of the cake.
- Refrigerate the cake for at least 1 hour before serving.

More Recipe Ideas

Joe Louis Cake
↑ Click stars to rate
Ingredients
- 1 box Red Velvet Cake Mix
CREAM FILLING
- ½ Cup Unsalted Butter, softened
- 1 ½ Cups Powdered Sugar
- ½ Cup Heavy Whipping Cream
- 14 oz Marshmallow Cream
CHOCOLATE GLAZE
- 1 ⅓ Cup Milk Chocolate Chips
- ⅓ Cup Heavy Whipping Cream
Instructions
- Make the cake according to the directions on the package in two 9-inch cake pans.
- If needed, use a serrated knife to cut the domed top off one of the cakes. Place the trimmed cake on a platter while leaving the second cake as is.
- In a large bowl, beat the whipping cream with an electric hand mixer until stiff peaks form, about 2 to 3 minutes.
- Beat in the butter and powdered sugar until very stiff peaks form, about 1 to 2 minutes.
- Fold in the marshmallow cream until just combined. It should not be runny.
- Spread the marshmallow icing over the cake layer to the edges. Place the second cake layer over the marshmallow icing.
- Place the cake in the freezer for about 10 minutes.
- While the cake is in the freezer, microwave the chocolate chips and whipping cream for about 30 seconds. Stir until chocolate is melted. Let the chocolate cool slightly.
- Pour the chocolate glaze over the top of the cake. Use a spatula to spread the glaze over top and sides of cake.
- Refrigerate the cake for at least 1 hour before serving.


If you’re a red velvet fan, you’ll love this cake.